Replacing polarizer film on LCD displays
I spent a good deal of hours on this, so I thought this might be of use to someone else as well.
We all seen those old school mono LCDs; they are in calculators, watches, handheld games (999 in 1 “brick game”, anyone?), etc. There are good reasons for that, and those reasons be impressive power efficiency and low cost on top of that. Sparkfun made a decent explainer on how they work, which I strongly suggest you watch before doing anything with your display; having at least some understanding of what’s going on really does help.
Now to the problem at hand… In many devices, these displays tend to fade / lose contrast, to the point of not being able to see anything at all. As it would seem, this is caused due to degradation of the polarizer film. I am not sure what exact mechanism is involved here, but it seems the film stops polarizing somehow. Good news is, the film is not something bespoke and thus can be replaced.
As it turns out, there is an impressive amount of videos telling us how to perform that operation. Unfortunately, I failed to achieve satisfactory results by following them, at least with the display I had on hand. Some just stick new film on top of old film, some cut film in arbitrary directions and it magically works for them but not for me. Eventually, though, I arrived at a solution that seems to work reliably; here it is.
Get the display out of your device.
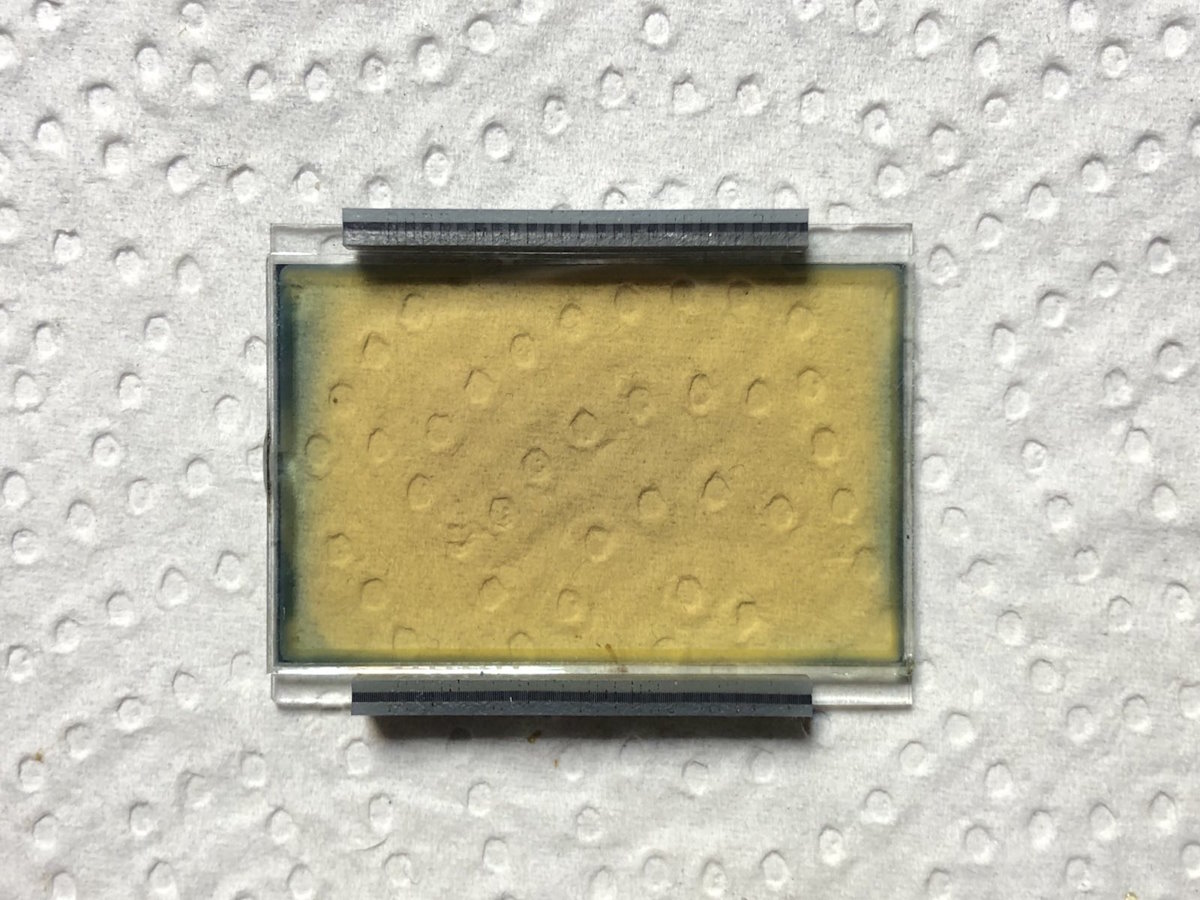
The display looks like it had its share of UV light causing degradation of the polarizer film; note there still is some proper gray colour on the very border, maybe it was covered by enclosure. If you look close at your display, you will see the film edges – both on the front and the back.
Notably, some displays have them films separate – then you don’t need to do all the film and adhesive removal, obviously.
If you do, then slowly insert a sharp, thin object (say, a hobby knife blade) between the film and glass. The film should start to delaminate; keep working until the film can be easily plucked off the glass. Repeat the exercise on the other side as well. You should end up with two pieces of film and a dirty display glass. Keep the old film as a template to be used later.
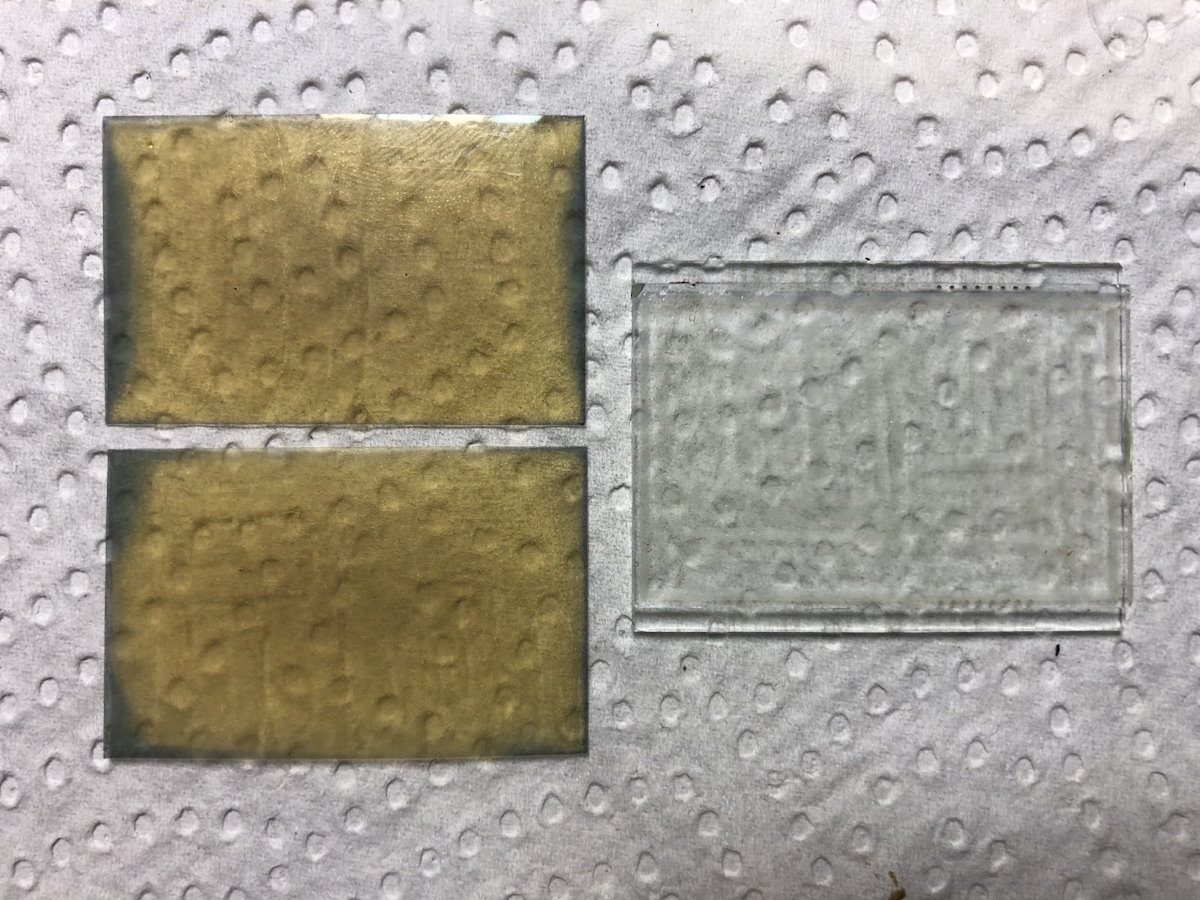
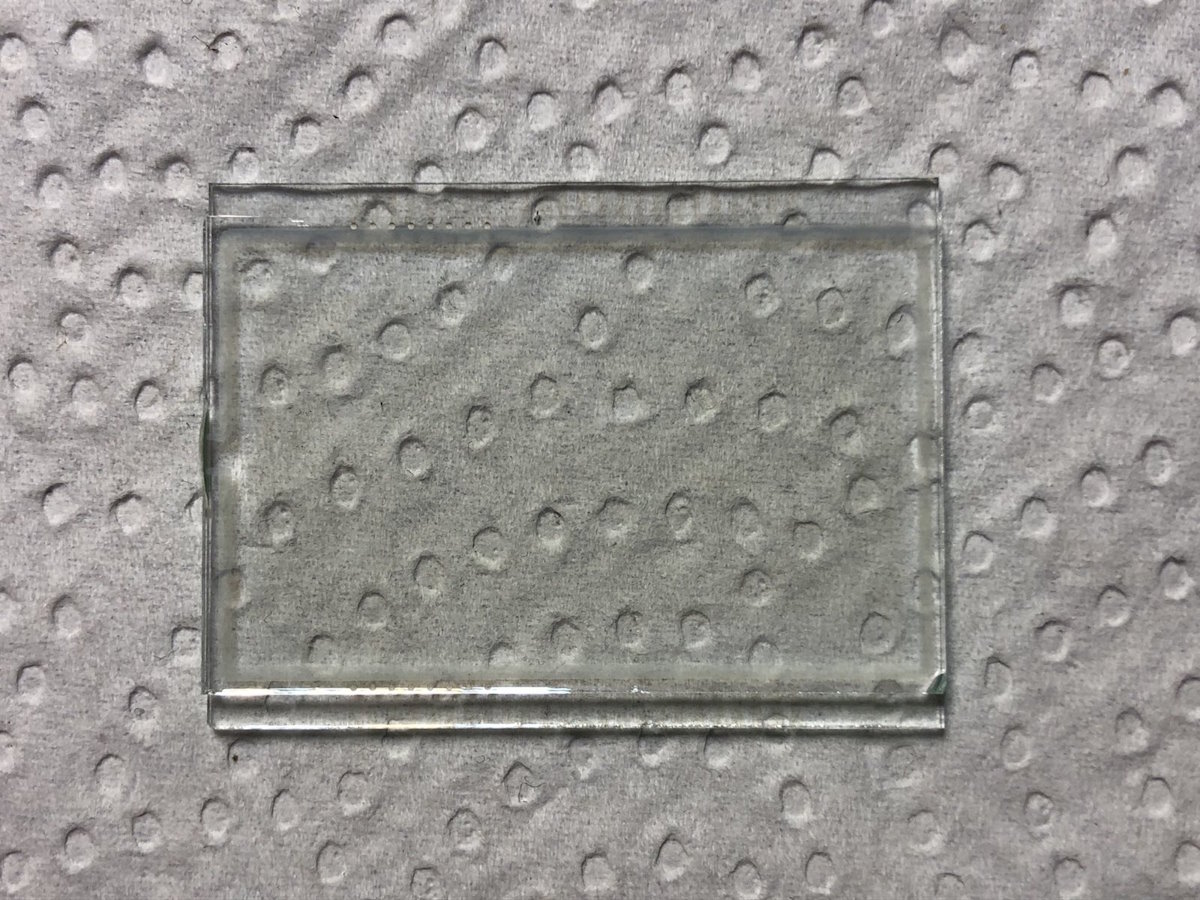
Unfortunately, adhesive holding the film on the diplay glass seems to also degrade together with the film. I had to first scrape it off the glass surface with a blade, then clean the remainder with IPA on a paper towel. Didn’t seem to clean without scraping first. In the end, you should end up with a nice and clean LCD display; it is important to remove all old adhesive to properly stick the new film on.
Speaking of new film, you can get that on the usual online markets. You can get one with adhesive or without it; the “with” option seems to provide better contrast due to fewer air-material interfaces in the stack-up.
Now you need to cut new film to size. However – and this is the part that I seem to have missed in all the tutorials – it can’t be just any random orientation. You need to cater to your display and orient it the way it wants it. First, place two sheets of your new film on top of each other, adhesive side inside, and put the display between them. Adjust the sheets angle so it transmits the absolute minimum of light; that is, they should be rotated at 90 degrees.
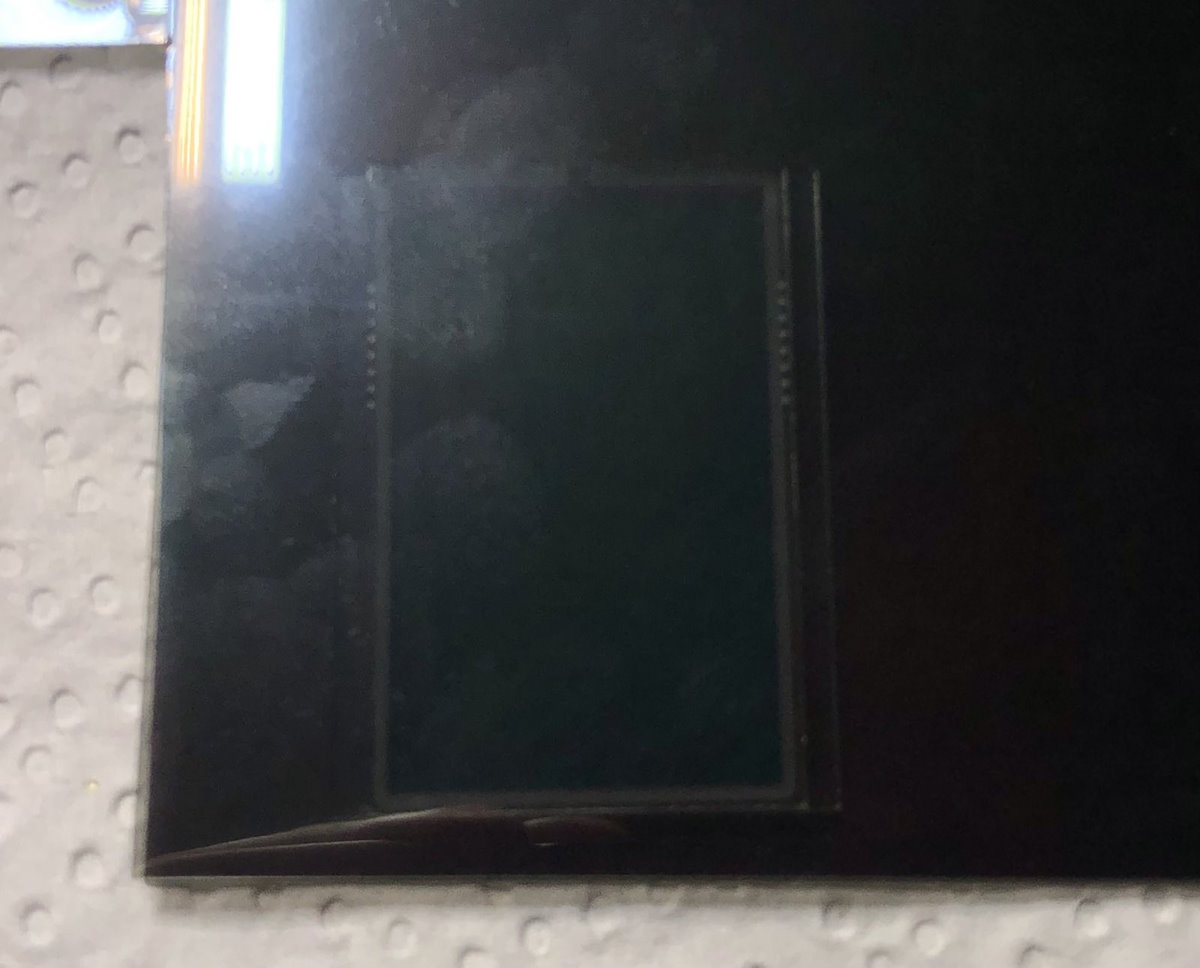
Then rotate the display to find a position where the whole stack transmits the maximum amount of light. Polarizer sheets must stay in place relative to each other.
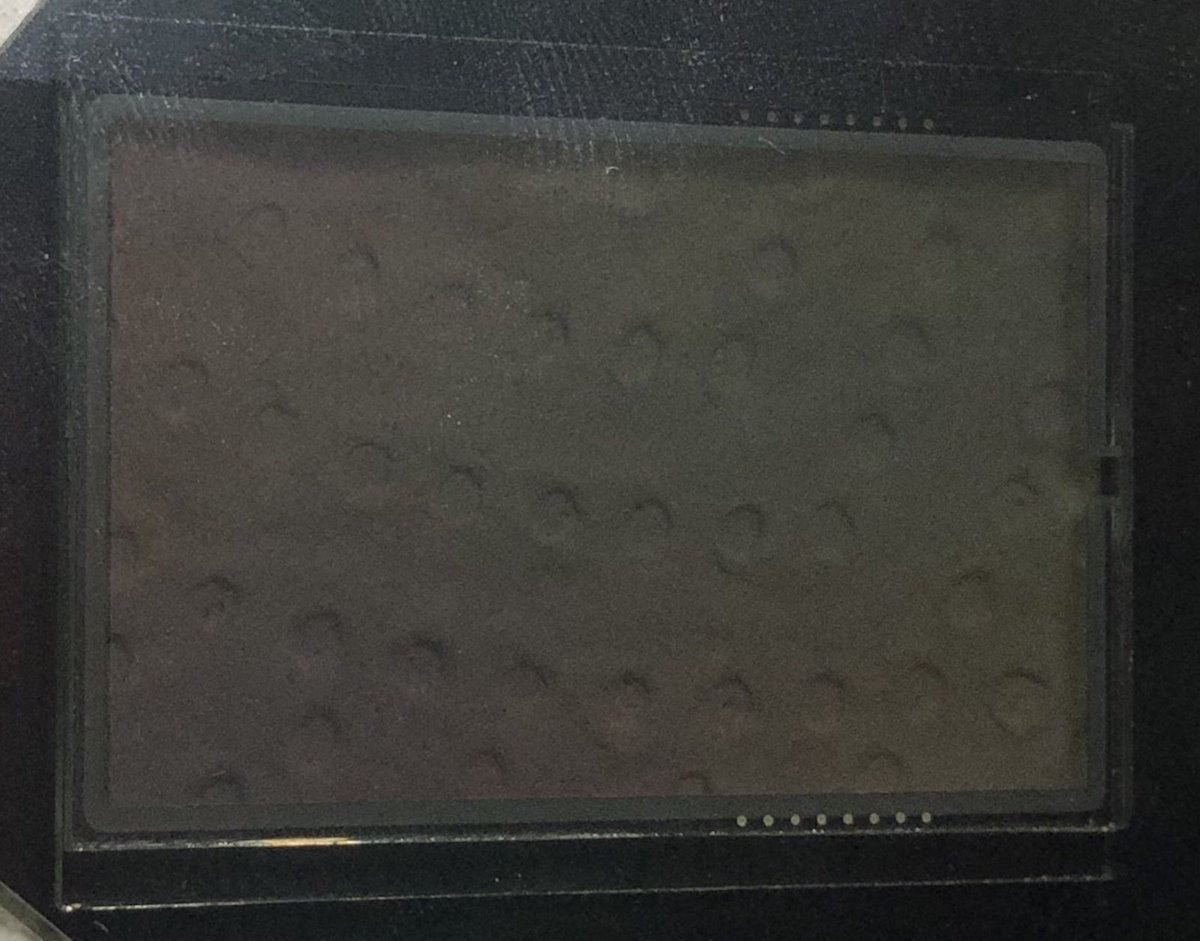
This is the orientation you want your polarizers to be in; this will give you the best contrast. Other angles will be worse, or you won’t see a thing at all.
Use the old film piece to mark and cut new polarizer film pieces. Make sure you cut in the right orientation by trying and double checking you still have the display transparent. I found it best to cut film pieces one by one, cutting and applying a newly cut piece to the glass before doing the second one.
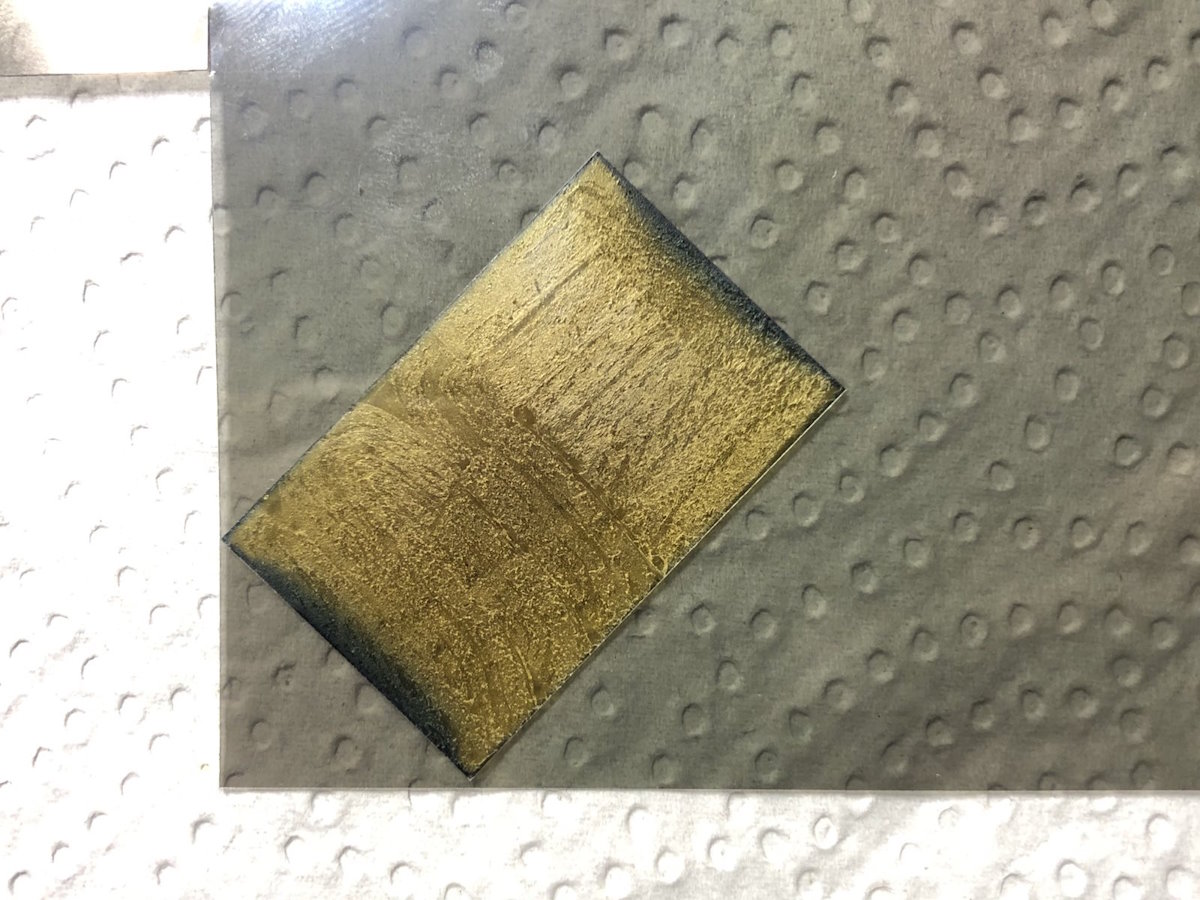
So yeah, go ahead and apply the first piece, hope you cleaned the glass properly from dust and grime first.
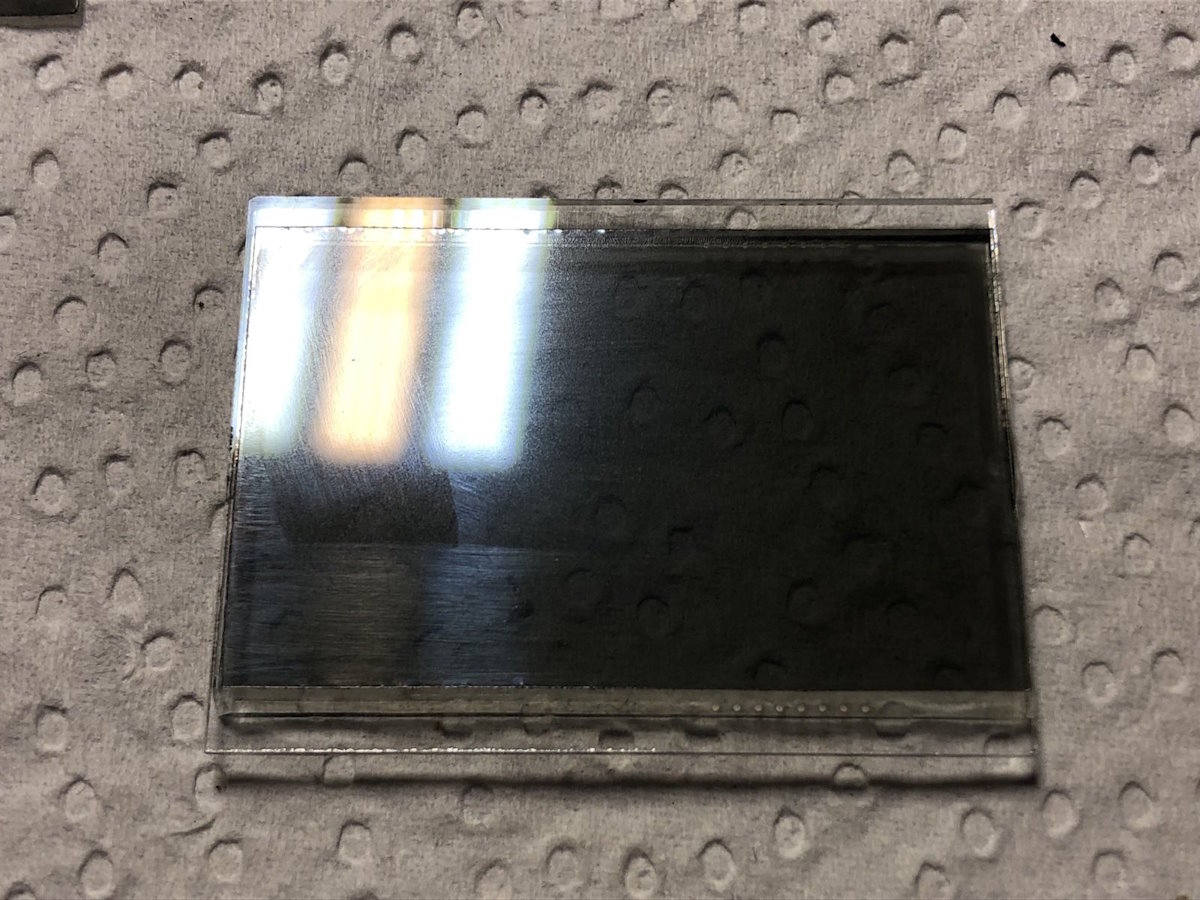
With the second film sheet applied correctly, you should have a finished part.
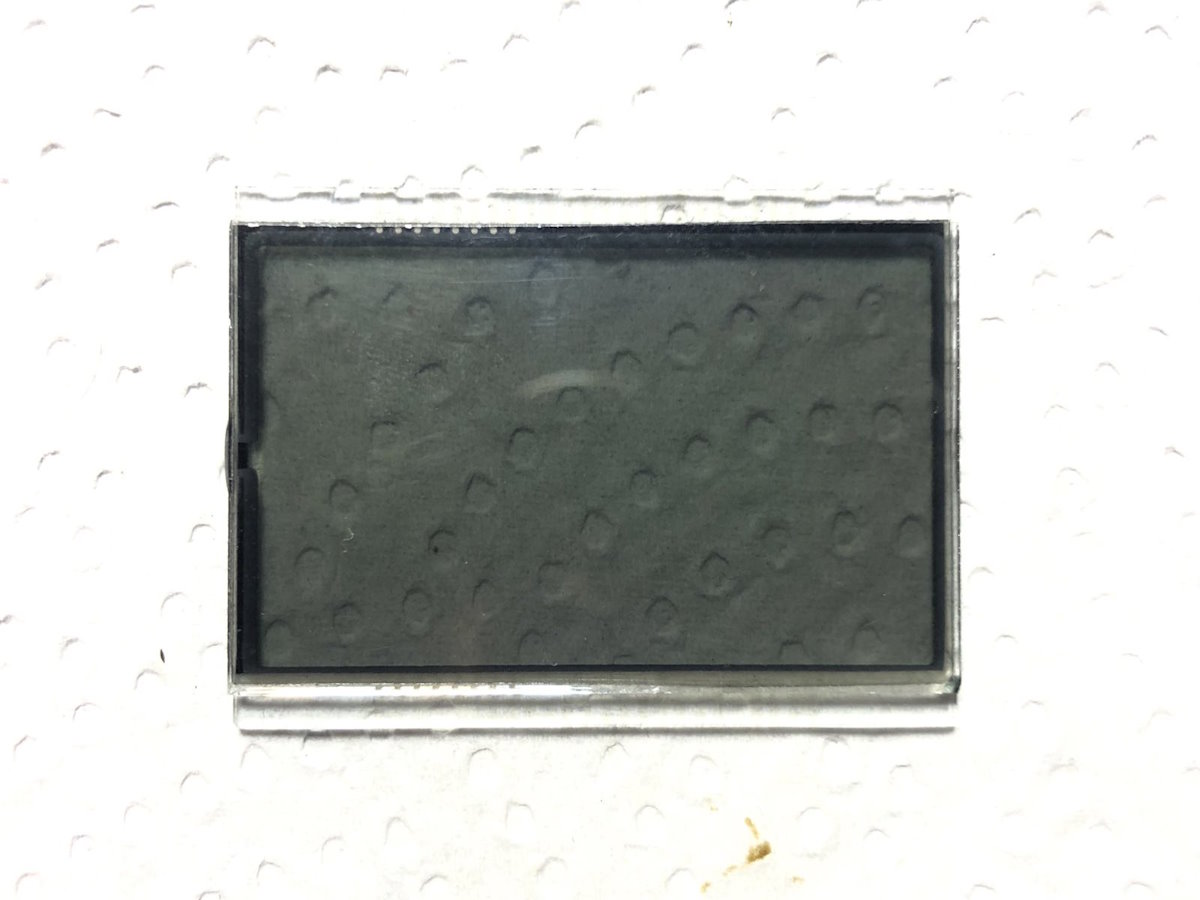
Notice how there is now a dark contour around – this is where there’s no liquid crystal, thus light polarization is not changed and minimum light goes through.
Remember to carefully clean contact areas where the zebra strips touch the glass. All that’s left is to peel protective film off and install your new display back into wherever you got it from.

Can even see ITO traces inside!
Well, hope that helps. That’d be it for today. Cheers!
/DJ